
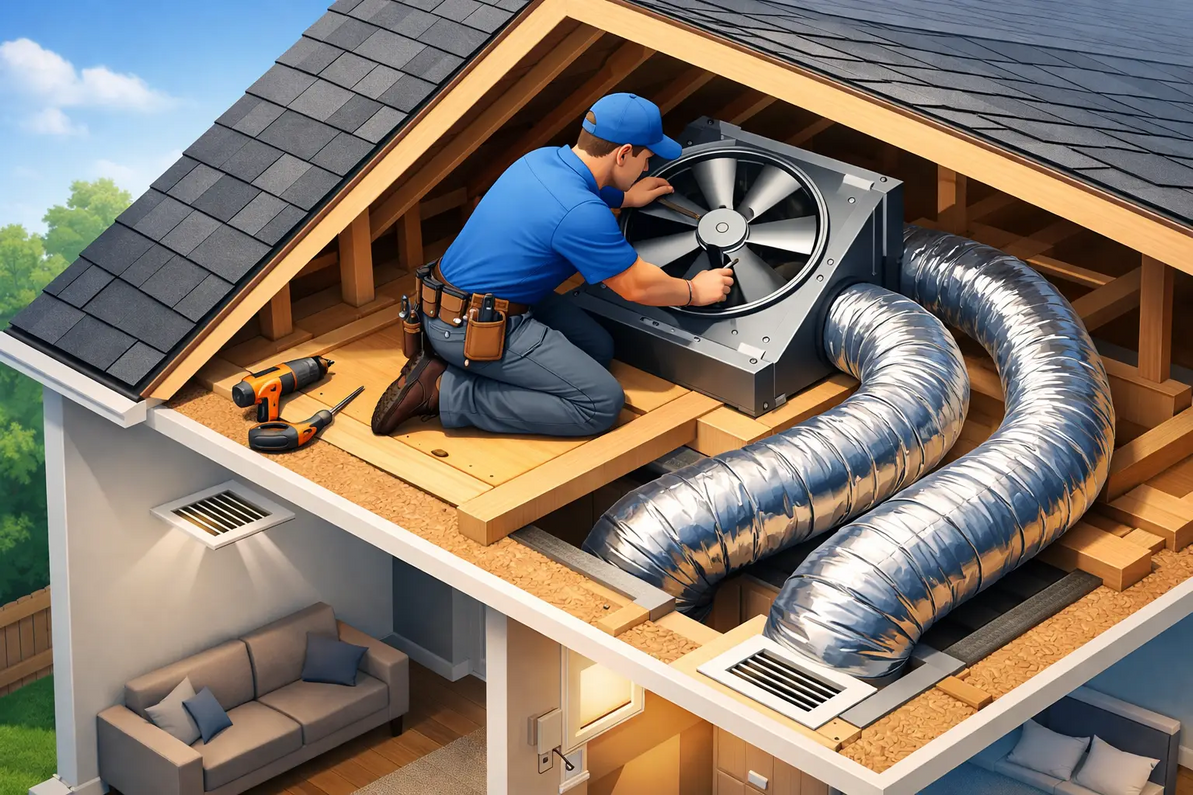
Whole House Fan Installation Guide
A whole house fan can cool a home fast, but only when the installation matches the structure. The most common failures we see are not motor related. They come from undersized attic venting, poor fan placement, weak framing details, or a fan selected without enough CFM for the actual house layout. This whole house fan installation guide is written for homeowners, contractors, and technically minded buyers who want the system to perform the way the cut sheet says it should.
Before you install a whole house fan
Start with the house, not the fan. A whole house fan works by pulling cooler outdoor air through open windows and exhausting warmer interior air into the attic, where it must then leave through attic ventilation. That means the fan, the ceiling opening, and the attic exhaust area all have to work as one system.
Sizing is the first decision. Many residential applications are based on air changes per hour or on a target CFM relative to the home's square footage and ceiling height. A small single-story ranch with open rooms behaves very differently than a two-story home with long hallways, closed bedrooms, and multiple ceiling transitions. If you oversize the fan, you may get excessive noise, strong drafts, and doors that slam. If you undersize it, the fan may run but never deliver the cooling effect the homeowner expects.
Attic venting is just as important. A whole house fan cannot dump large air volume into an attic that has no path to discharge it. If the net free vent area is too low, static pressure rises, airflow drops, and the fan motor works harder than it should. In practical terms, the homeowner hears more noise and feels less cooling. This is one reason attic inspection should happen before the unit is ordered.
Whole house fan installation guide for planning and sizing
The cleanest installation starts with five checks. Measure conditioned square footage, note ceiling height, confirm attic clearance, verify electrical access, and calculate whether existing attic vents can support the fan's rated airflow. If any one of those is ignored, the installation can become a callback.
For fan location, central hallways usually work well because they draw air across multiple rooms. But the best location depends on the floor plan. A hallway near bedrooms may be preferred for nighttime cooling, while a more central common-area location can improve whole-home airflow. The goal is balanced air movement, not just the easiest place to cut drywall.
Ceiling framing matters. Some installations fit neatly between joists. Others require framing modifications to support the fan box or grille assembly. Never treat this as a cosmetic opening only. The fan creates vibration and moving air loads, so the framing should be square, secure, and sized to the manufacturer's rough opening requirements.
You also need to verify attic depth above the chosen location. Some whole house fans have insulated doors, gravity dampers, or ducted assemblies that require more clearance than a shallow truss bay can provide. If clearance is tight, a different fan style may be required.
Tools, materials, and code considerations
Most installations require standard carpentry and electrical tools, but the bigger issue is code compliance and job sequencing. If the fan is hardwired, wiring should meet local electrical code, including proper circuit protection, disconnect requirements if applicable, and approved switch or timer controls. Some jurisdictions may also have energy or fire separation requirements that affect penetrations between the living space and attic.
If the home has combustion appliances, evaluate them before installation. Strong exhaust-driven airflow can create pressure conditions that affect venting performance. That does not mean a whole house fan cannot be used. It means the installation should be reviewed as a system, especially in tighter homes or homes with gas-fired equipment.
Insulation strategy should also be considered. One reason premium whole house fans cost more is that insulated damper doors and tighter-sealing assemblies reduce winter heat loss and summer attic heat gain when the unit is off. A cheaper fan with poor sealing can erase some of the energy benefit the customer expects.
Cutting the opening and setting the fan
Mark the opening carefully from below and confirm attic obstructions from above before cutting. It is much easier to move a pencil line than a ceiling hole. Check for wiring, can lights, plumbing vents, low truss members, and ductwork. If the chosen spot conflicts with existing services, relocate the opening before framing work begins.
After the ceiling opening is cut, frame the rough opening to match manufacturer dimensions. Keep the assembly level and square. Any twisting or misalignment can affect damper operation, grille fit, and vibration control. If the fan uses ducted connections between the intake grille and attic-mounted fan body, support the duct according to the manufacturer's instructions and keep the run as straight as possible. Sharp bends increase resistance and reduce effective airflow.
Set the fan securely on the framed support or mounting hardware. Fasteners should match the substrate and vibration loads. A whole house fan should not rely on improvised blocking or light-duty screws. Once mounted, check that moving components clear surrounding framing and that dampers open fully.
Electrical wiring and controls
Most homeowners care about noise and cooling speed. Installers should care just as much about control strategy. A basic wall switch will run the fan, but a timer gives the user better control and reduces the chance the fan runs longer than needed. Multi-speed controls can also improve comfort, especially in shoulder seasons when full airflow is unnecessary.
Follow the wiring diagram exactly. Confirm supply voltage, amperage, and branch circuit capacity before energizing the unit. If the model includes a remote control, timer module, or motorized damper, verify low-voltage and line-voltage connections separately. Miswiring can damage control boards or leave dampers stuck shut.
After wiring, test rotation, speed selection, and damper operation before installing finish trim or closing attic access. This is the stage where small corrections are still easy.
Do not skip attic exhaust calculations
This is the part many installers underestimate. The fan may be rated for several thousand CFM, but that airflow only happens if the attic can exhaust it. Net free vent area is what counts, not just the number of louvers visible from the street. Screens, louvers, and vent design reduce actual free area.
If the attic is short on venting, add the required intake or exhaust vent capacity before startup. Ridge vents, gable vents, roof vents, or other code-compliant ventilation components may be used depending on the home. The right choice depends on roof design, climate, and existing ventilation layout. What matters is total effective vent area and discharge path.
When attic venting is inadequate, homeowners often describe the fan as loud but not impressive. That is a pressure problem, not a fan problem.
Startup and performance testing
Once installation is complete, open several windows and start the fan on low speed if available. You should feel incoming air at the windows and steady upward airflow through the ceiling intake. Interior doors should remain stable if enough windows are open. If doors pull hard or whistle, the house likely needs more open window area during operation.
Check for vibration at the grille, framing, and attic mounting points. Some movement is normal, but rattling is not. If noise is excessive, inspect mounting alignment, fastener tension, duct bends, and damper movement. Also confirm attic venting again. Restricted discharge often sounds like a fan issue.
Temperature drop should be judged realistically. A whole house fan is most effective when outdoor air is cooler than indoor air, typically in the evening, overnight, and early morning. In hot humid conditions where outdoor enthalpy remains high, performance depends on local climate and operating timing. This is why whole house fans are outstanding in some regions and only situationally useful in others.
Common installation mistakes
The biggest mistake is treating the fan like a standalone appliance. It is a ventilation system component. If the house needs 4,500 CFM but receives a 2,500 CFM unit, comfort suffers. If the fan can move 5,000 CFM but the attic vents can only relieve a fraction of that air without pressure buildup, performance also suffers.
Another common issue is poor location selection. Installing the fan where airflow short-circuits from one nearby window can leave remote rooms warm. Noise complaints are also common when low-cost units are mounted without enough attention to isolation, framing strength, or grille placement near sleeping areas.
Finally, some installers overlook seasonal sealing. Insulated doors, tight dampers, and well-fitted assemblies matter in winter and peak summer when the fan is off. Operational airflow is only half of the performance equation.
For homeowners who want the airflow right the first time, technical support matters as much as product selection. Factory Fans Direct provides whole house fan expertise, application support, and a free home evaluation for buyers who want to verify CFM, attic venting, and model fit before installation.
A well-installed whole house fan should feel simple to use because the engineering was handled before the switch was ever turned on.
Factory Fans Direct - Whole House Fans Experts | Contact Mike Miller at Factory Fans Direct for a FREE Home Evaluation 888-849-1233 and a $50 discount Coupon and Live Support on the Centric Air Whole House Fans.
Recent Posts
-

AI Smart Buildings Incorporate Edmonds ecoPOWER Hybrid Turbine Ventilation
A building automation system can report rising rooftop temperatures, increasing indoor contaminants, …12th Sep 2026 -
Smart Buildings Architects Recommend Edmonds ecoPOWER Hybrid Ventilation
A rooftop ventilator should not force an all-or-nothing energy decision. Smart Buildings Architects …7th Sep 2026 -
Smart Industrial Buildings Use Edmonds ecoPOWER Hybrid Ventilation
A roof exhaust system can be the difference between a plant that controls heat at the source and one …7th Sep 2026