Installation (DIY)
Centric Air Whole House Fans Are Designed Around Ease Of Installation
90 Minute Whole House Fan Installation
One of the great features of a Centric Air system is the ease of installation. A typical DIY installation takes about 90 MINUTES. Unlike other whole house fans that typically require extensive framing, Centric Air systems require NO FRAMING and are designed to fit between most attic joists which are typically either 16 or 24 inches on center.
Easy-To-Read Instruction Manual
Centric Air whole house fans are designed around ease of installation. Every fan ships with an easy-to-read instruction manual that walks you through the installation process, from cutting the hole in the ceiling to securing the fan in the attic. Each step is clearly explained with easy to follow pictures showing exactly how the system is installed.
No Electrical Work Needed
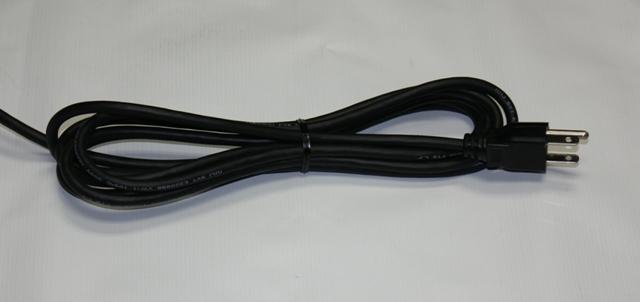
All our whole house fans plug into standard household electrical sockets, no additional wiring is needed so long as you have an outlet close by. You can also eliminate the need for cutting holes in your wall and running electrical to a wall switch by going with one of our whole house fan remote controls.
No Framing Required
As long the joists in your attic are typical of most homes (16″ to 24″ on-center) there is no framing required. You simply cut a hole in the ceiling (or vertical wall), install the ceiling damper with a few screws, connect the duct to it and support the fan assembly to the rafters in the attic. Then plug the fan in to a standard electrical outlet and it’s installed! The complete installation takes about 90 minutes.
Simple Tools, Fast Installation
Centric Air Whole House Fans are designed so that most Do-It-Yourselfers, Handymen, and Contractors will have no problem installing them. The tools you’ll need are a drywall saw, cordless drill, tape measure, socket wrench with 7/16″ deep socket, 3/16″ drill bit, 1/4″ hex nut drive bit, phillips drill bit and a pencil to do the job.
Think About Attic Ventilation
Before purchasing a whole house fan it is important to verify that your home has sufficient attic ventilation. If your home does not have enough attic ventilation, pressure from a Whole House Fan can build up; slowing down the airflow. This can also lead to air being pushed back into your living space. Each of the Centric Air Whole House Fans has a listed requirement for attic venting. See Required Attic Venting on the Specification section for each product.
Centric Air Whole House Fan Installation Pictures
The following Centric Air whole house fan installation pictures were sent to us from a very satisfied customer who installed the system himself. He wanted to show others how to simple it was to install the whole house fan from the customers perspective. A more detailed whole house fan installation instruction manual is provided with your Centric Air purchase.
-
Cutting Drywall and Installing Damper Box (No Framing Required)
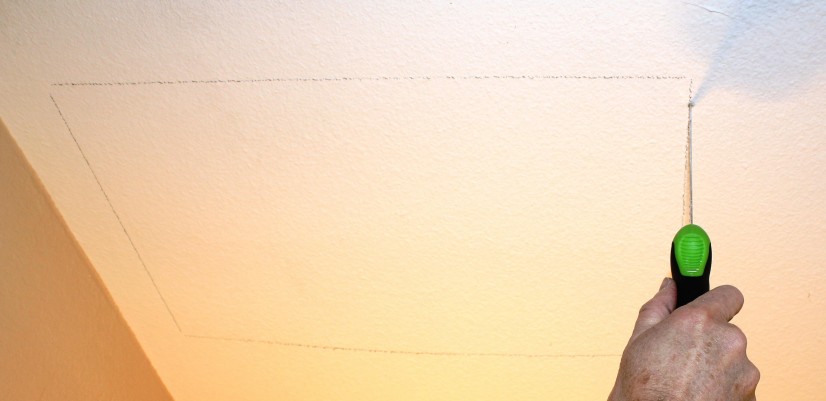
- Cut out drywall in ceiling
- Slip damper box between existing joist and attach with screws provided.
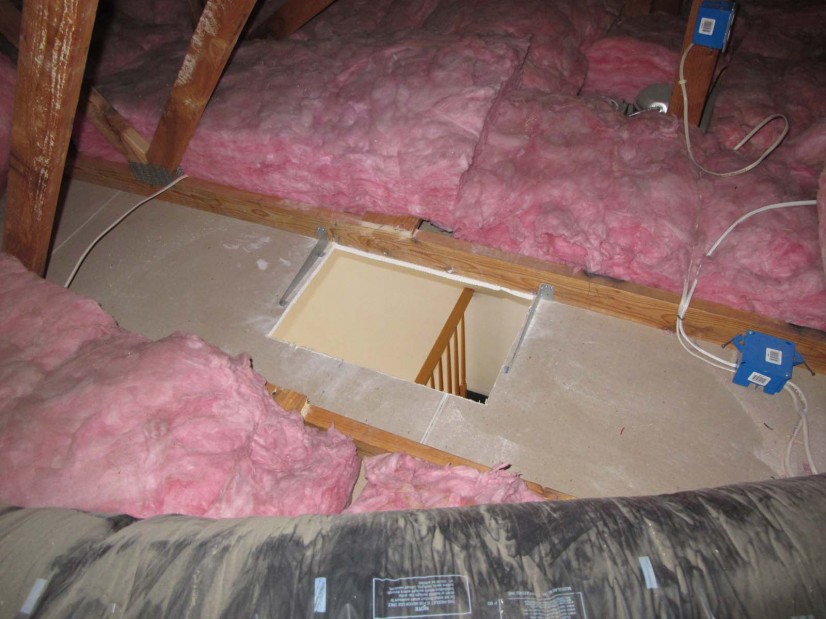 I
I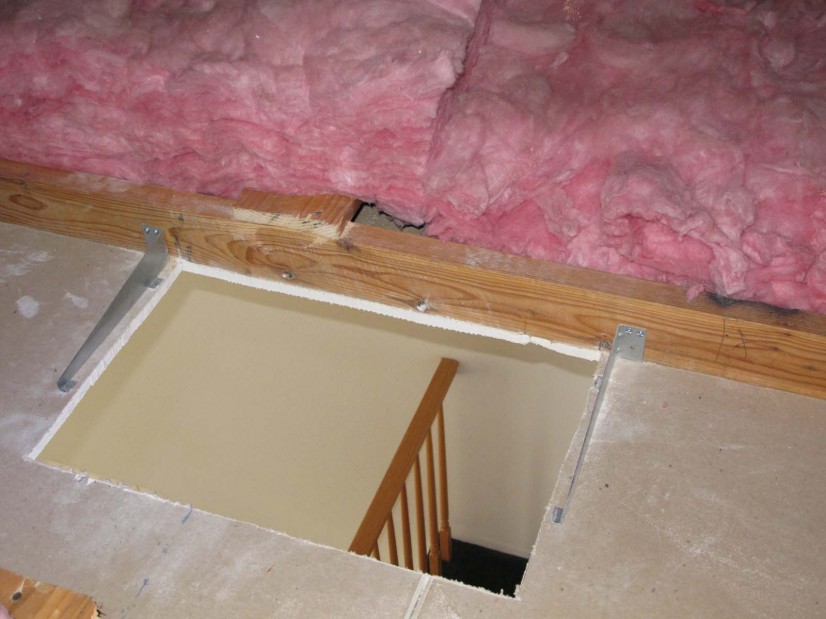
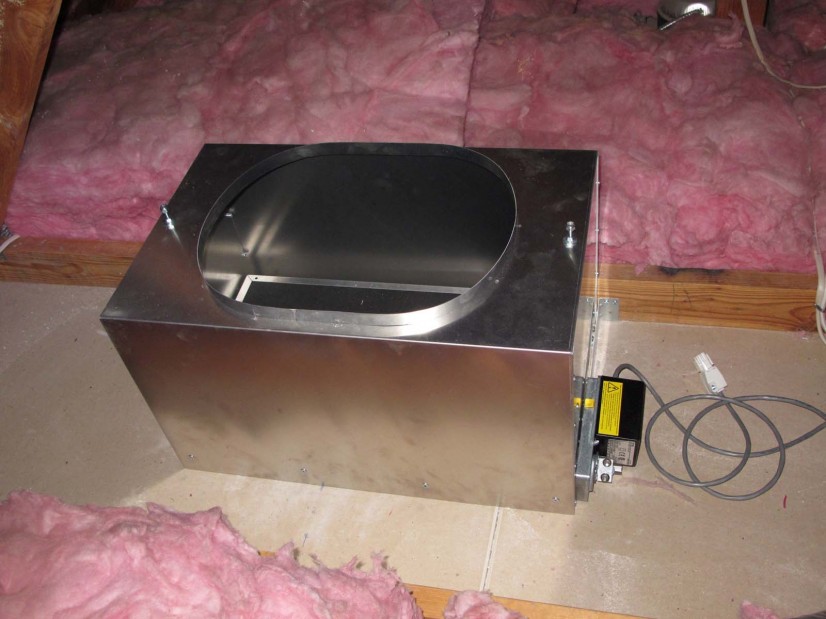
Damper shown is Cold Climate Damper. Backdraft damper is included in standard price.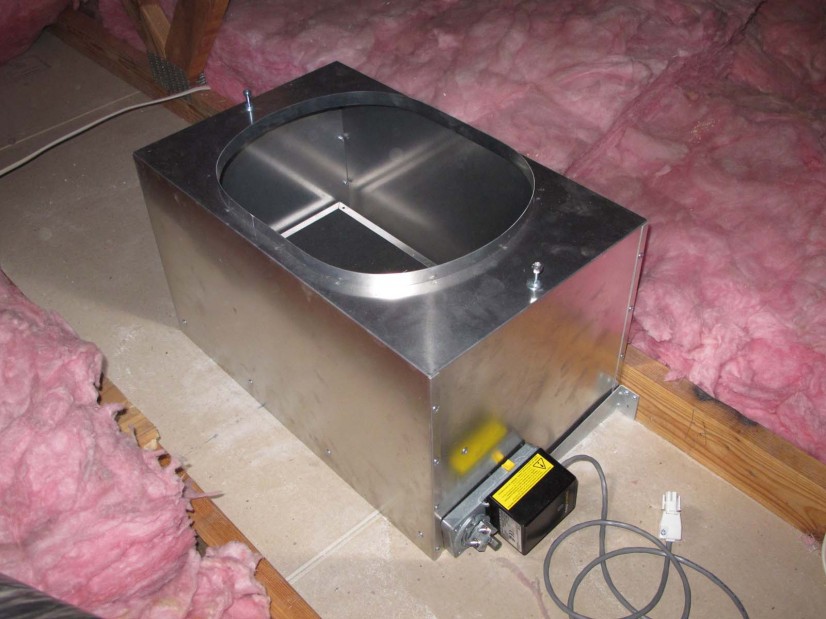
- Cut out drywall in ceiling
-
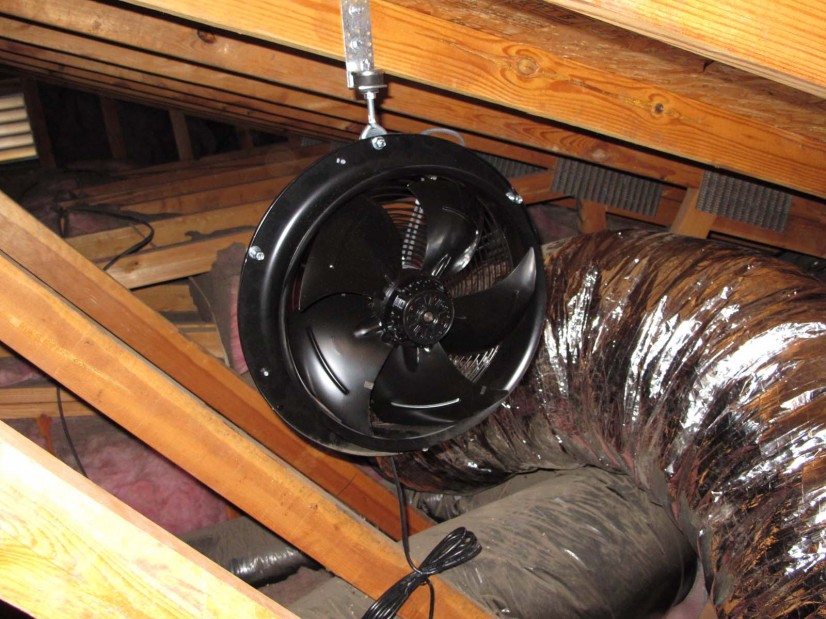
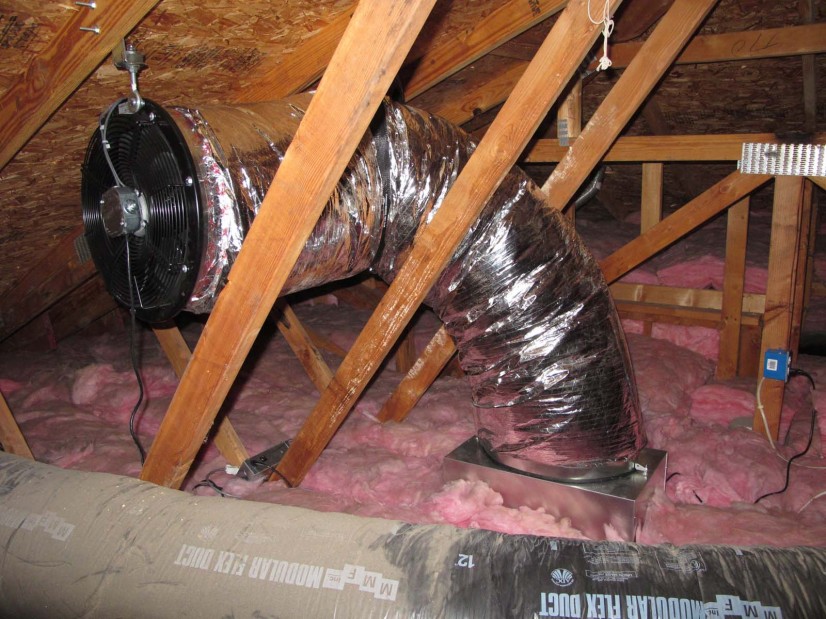
Securing Fan
Mount fan to attic structure using custom bracket provided.
-
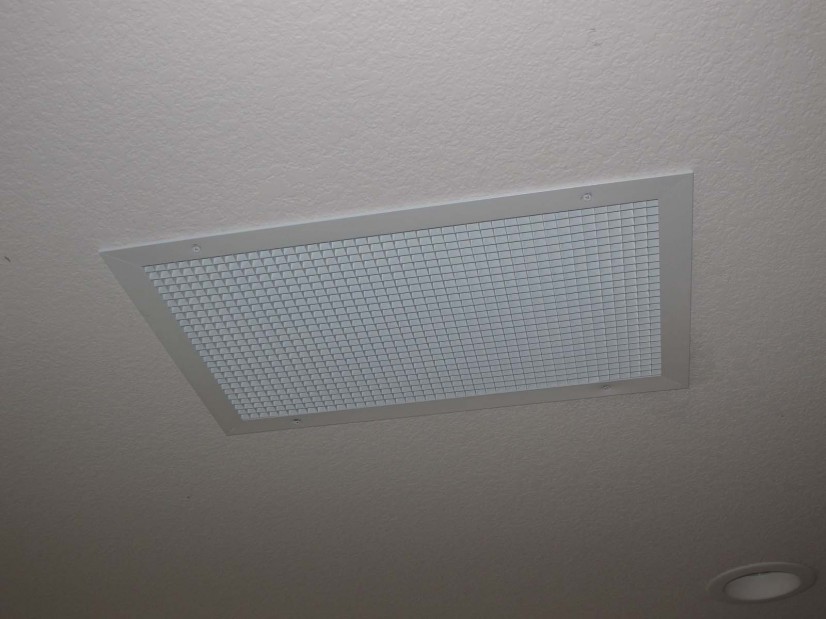
Ceiling Grille
Install grille over opening in ceiling using screws provided.

-
Electrical
- Plug electrical cord from fan into outlet socket on control box provided.
- Plug electrical cord from control box into a standard home electrical outlet socket.
